Picnic Palace
The Jester Cap Pattern
The Jester Cap Pattern
Couldn't load pickup availability
If you have any trouble at all with printing or sewing, feel free to email me at shoppicnicpalace@gmail.com or DM me on Instagram (@picnicpalace). Please do not distribute these files to anyone else!
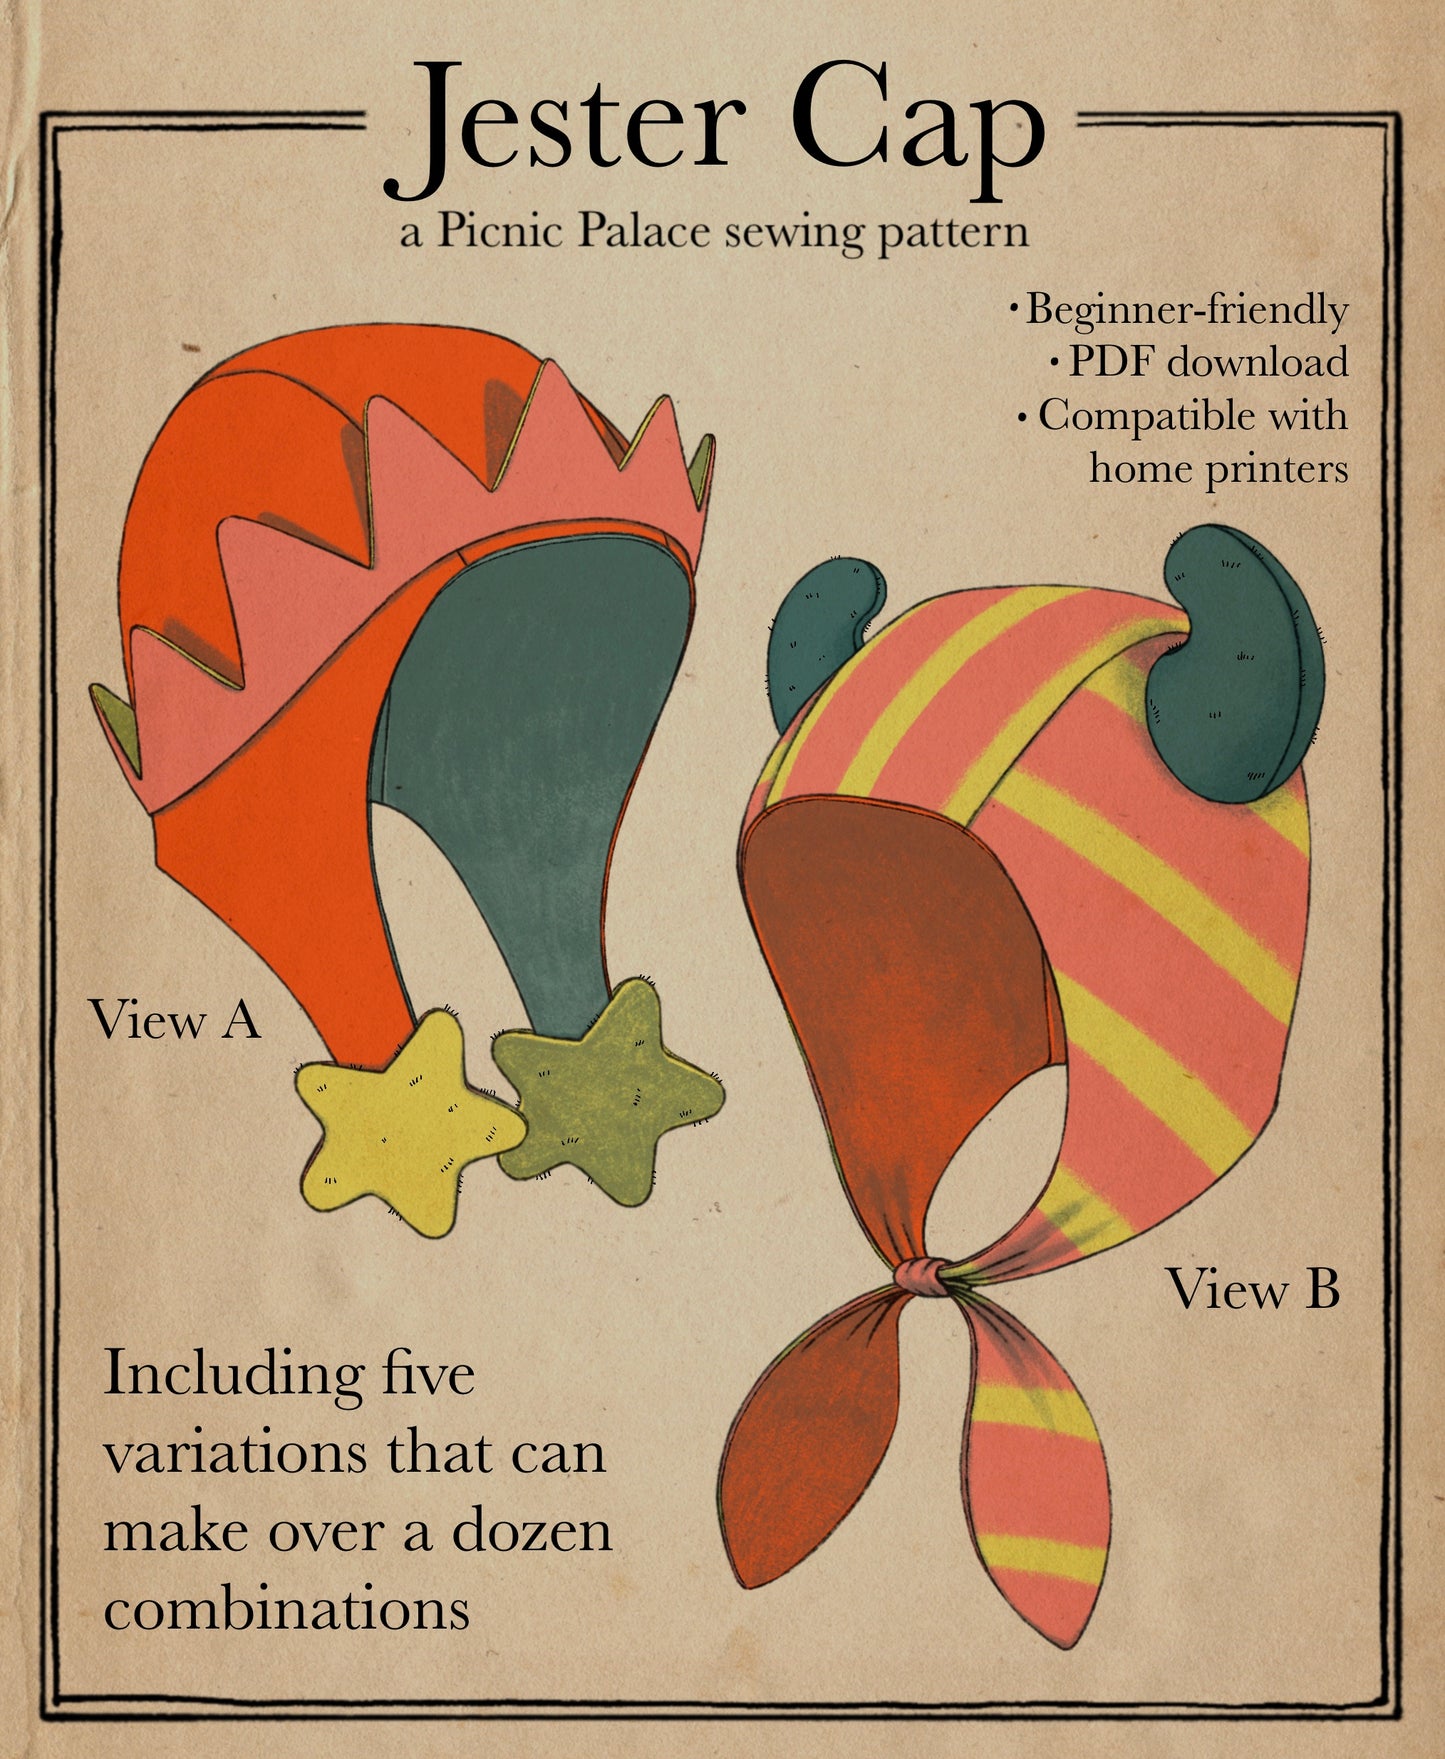
This cap pattern will help you make the perfect hoods for all your jester nonsense. It comes with two variations and two optional add-ons (horns and star tabs!), so you can use these instructions again and again to really build out your costume trunk. It is very beginner-friendly, and I'd definitely recommend it for anyone who's looking for a fun first project.
Pattern printing instructions:
Print the file on any home printer at 100% scale, and verify that it printed correctly by measuring the 2”x2” test square. Tape the sheets of paper together using the registration marks to align them properly. See the diagram on the next page to figure out which pages connect to which. Cut out all the pattern pieces. Keep in mind that some pieces are rectangles with shapes drawn in dotted lines within them–disregard the dotted lines for now, and only cut along the solid lines. Decide which view and variation you will be making, refer to the cutting guide on the next page, and set aside the pattern pieces you won’t be needing for this project.
Tools and Supplies:
-In total, you’ll need about half a yard of fabric, but you will probably wish to use several different fabrics for a patchwork look. Woven fabrics are best for the outside of the cap. For a warmer hat, I like to use fleece or flannel as the lining. The horns turn out best if they’re made from felt, fleece or any other non-woven, non-fraying textile. If you’re making the crown variation, I suggest interlining it with craft felt to keep it from being too flimsy, but that is technically optional.
-Handful of Polyfil, cotton stuffing, or fabric scraps with which to stuff the horns (optional)
-Sewing machine
-Hand-stitching needle
-1 spool of coordinating all-purpose polyester thread
-Pins
-Fabric scissors and scissors for paper
-Iron and ironing board
-Tailor’s ham
-your preferred tool for marking fabric—tailor’s chalk, heat-erasable pen, pencil, tailor’s tacks, white gel pen, etc.
-Fray Check (optional)


