Picnic Palace
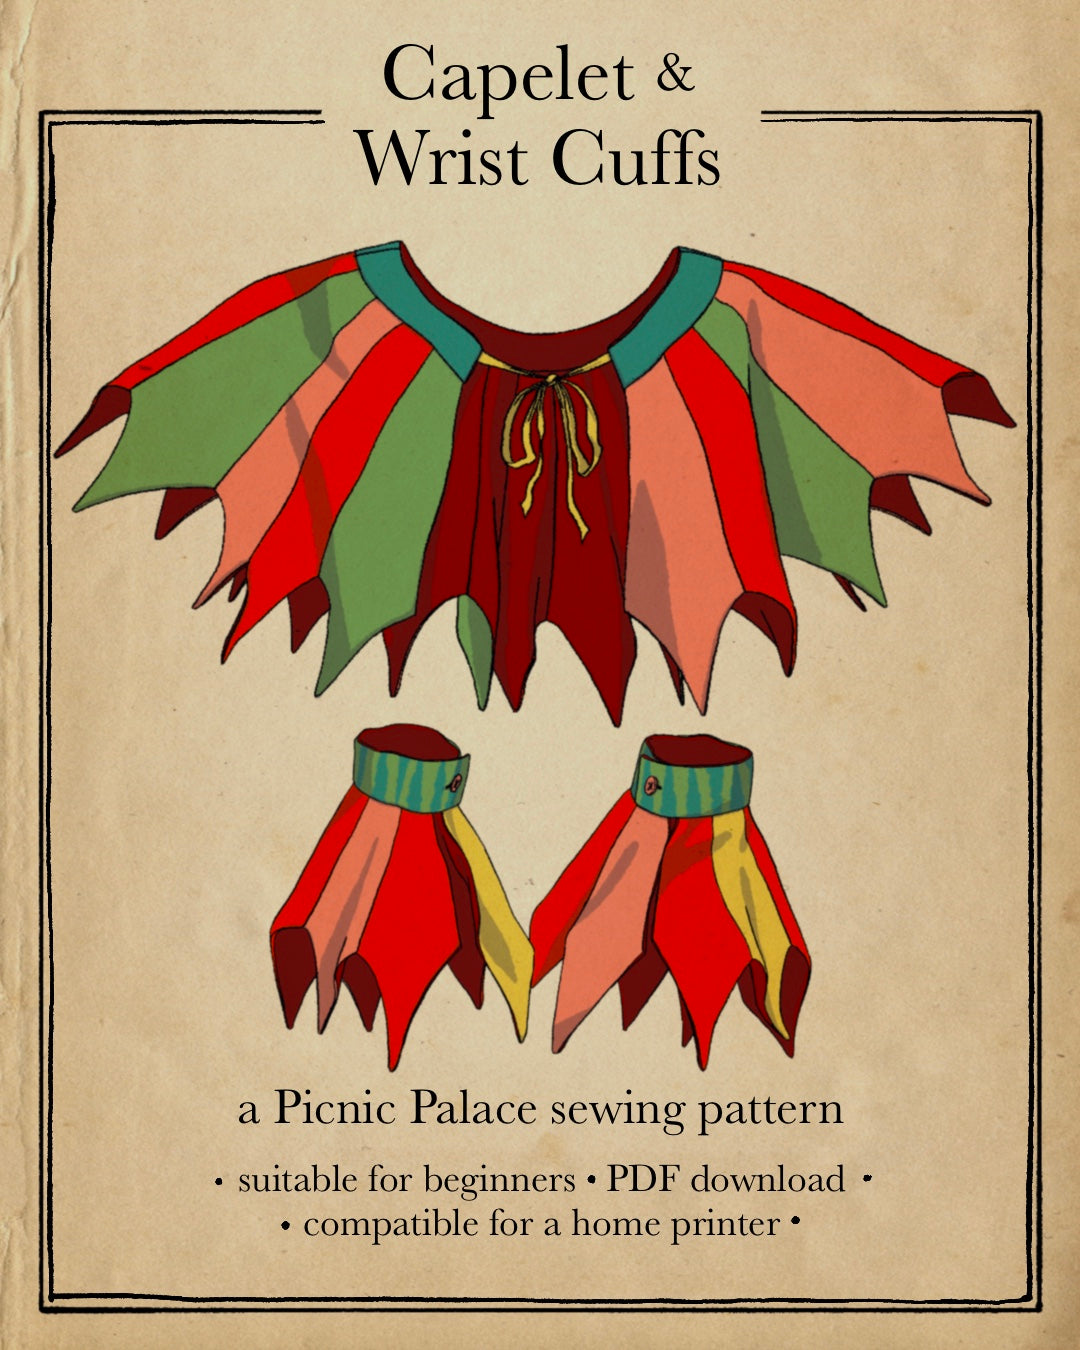
The Capelet and Wrist Cuff Pattern
The Capelet and Wrist Cuff Pattern
Couldn't load pickup availability
If you have any trouble at all with printing or sewing, feel free to email me at shoppicnicpalace@gmail.com or DM me on Instagram (@picnicpalace). Please do not distribute these files to anyone else!
This pattern produced my number one favorite set I've ever sold... it was this beautiful rainbow striped set that I made sometime last year out of a vintage clown costume (!!), and some really pretty cranberry red linen that my roommate gave me from her stash. I knew it was the perfect fabric pairing for this pattern because the clown fabric had so many places on it that were too faded to use--I needed pattern pieces that were small enough to let me cut around all the worn down patches. Wearing that rainbow capelet with its matching cuffs made me feel like a circus tent in the best way possible. And now you can, too!
Anyway, as always, it's such an honor to present you with this month's little clown-y project. Please don't hesitate to reach out if you get stuck (though I will say that this one is especially beginner-friendly)!
Pattern printing instructions:
Print the file on any home printer at 100% scale, and verify that it printed correctly by measuring the 2”x2” test square. Tape the sheets of paper together using the registration marks to align them properly. See the diagram on the next page to figure out which pages connect to which. Cut out all the pattern pieces.
Tools and Supplies:
-About 1 yard of fashion fabric and 1 yard of lining fabric. Many types of fabric will work well for this project, but I recommend choosing wovens. I like to split my fashion fabric into two ½ yards of different colored fabrics of a similar weight, so that I can alternate the colors and make a striped, circus-tent design
-Non-woven fusible interfacing
-About a yard of coordinating ribbon, cut into two pieces
-Two buttons around ⅝” in diameter or two skirt hooks
-Sewing machine
-Iron
-Pins
-Either a buttonhole foot/attachment for your sewing machine or a spool of matching buttonhole thread to stitch your own
-One spool of all-purpose polyester thread that matches your fabric
-Your preferred tool for marking fabric—tailor’s chalk, heat-erasable pen, pencil, tailor’s tacks, white gel pen, etc.
-Hand needle
-Fabric scissors
-Forceps (optional, but they’re what I use for turning out tight corners and spikes)
-A chopstick or the end of a small paintbrush
-A clear ruler or seam gauge


