Picnic Palace
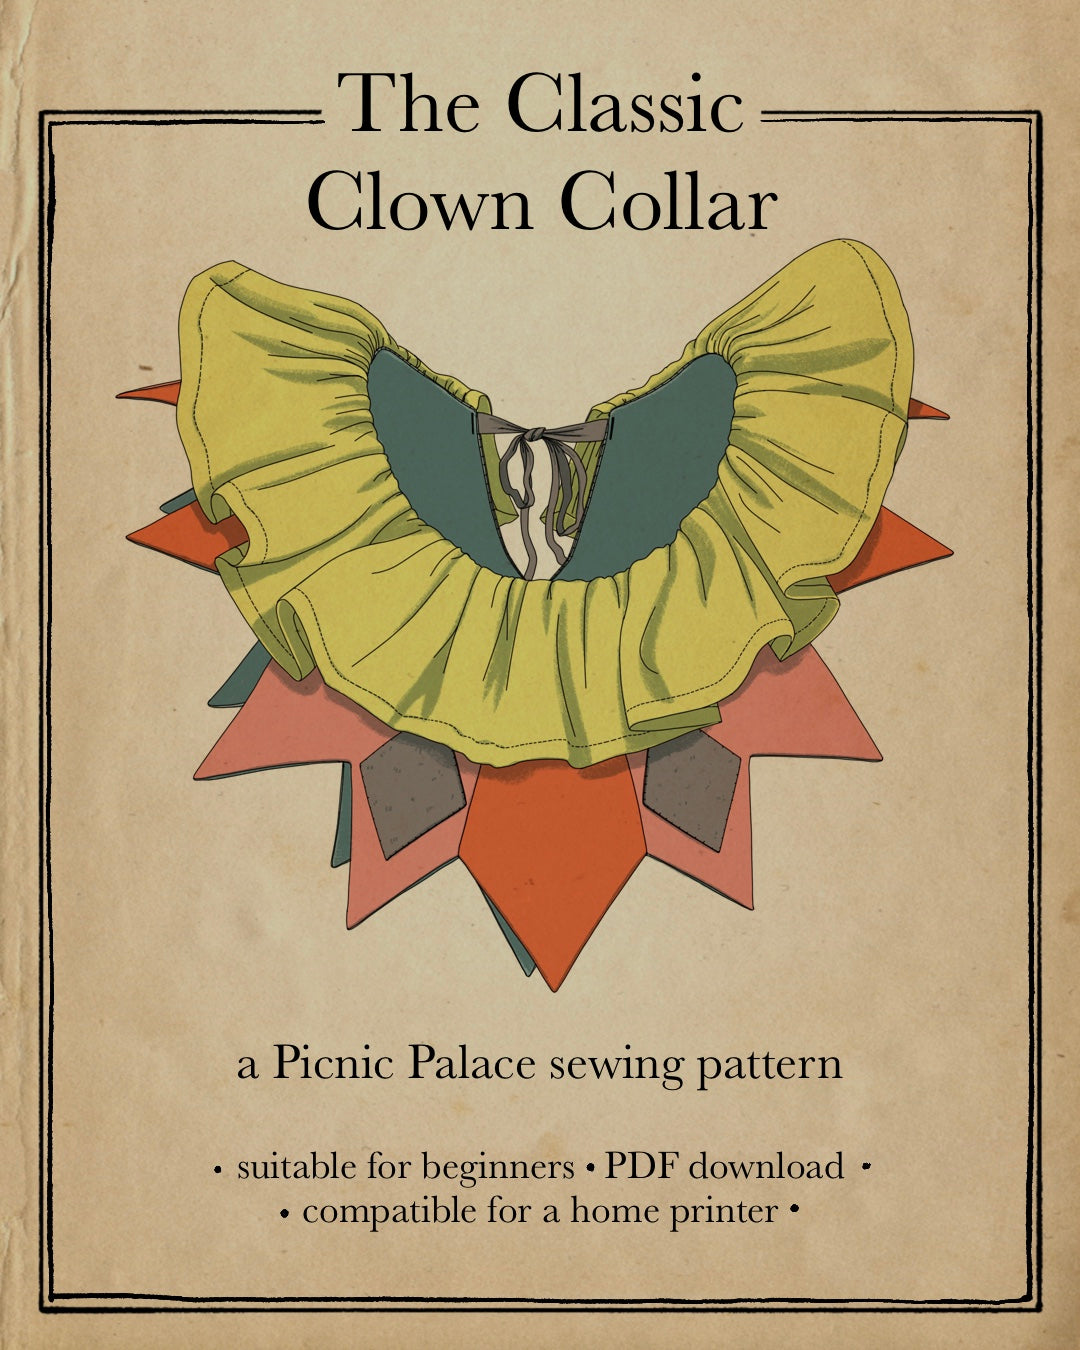
The Classic Clown Collar Sewing Pattern
The Classic Clown Collar Sewing Pattern
Couldn't load pickup availability
This satisfying, beginner-friendly, stash-buster of a project is the perfect way to start building out your clowncore costume trunk. The pattern comes with two neckline variations, an optional harlequin appliqué template, and a fully-illustrated instruction booklet.
Select the file that corresponds with the size of your printer paper. Print the PDF pattern at 100% scale and make sure the content is centered on the page. Trim the right and bottom edges of each page up to the red line, and tape the pages together (using the registration marks to align) according to the layout above. Cut out all the pattern pieces.
Necessary tools and supplies:
● A total of 2 yards of various fabrics–see page 4 for a detailed list of fabric and yardage requirements
● ½ yard of non-woven fusible interfacing (I like this kind)
● 2 pieces of decorative ribbon in a coordinating color to your fabric measuring 24” each
● A fabric-marking tool of your choice (I like heat-erasable pens)
● Forceps and a point turner
● A clear ruler or a seam gauge
● A sewing machine
● An iron
● Pins
● A hand-sewing needle
● 2 spools of polyester all-purpose thread in a coordinating color to your fabric
● 1 80/12 sewing machine needle and 1 heavy-duty needle like these
● Any materials you’d like to use to decorate the collar: wool felt for appliqués, embroidery floss, sequins, beads, fabric paint, pom-poms, jingle bells, etc.
Techniques you’ll need to either know or be willing to learn: double-folded hems with mitered corners, gathering a ruffle, flatlining, sewing a slip stitch, grading seams, turning out sharp points, and hand-basting 2
*While vaguely inspired by depictions of medieval jester costumes, this design is in no way historically accurate.*